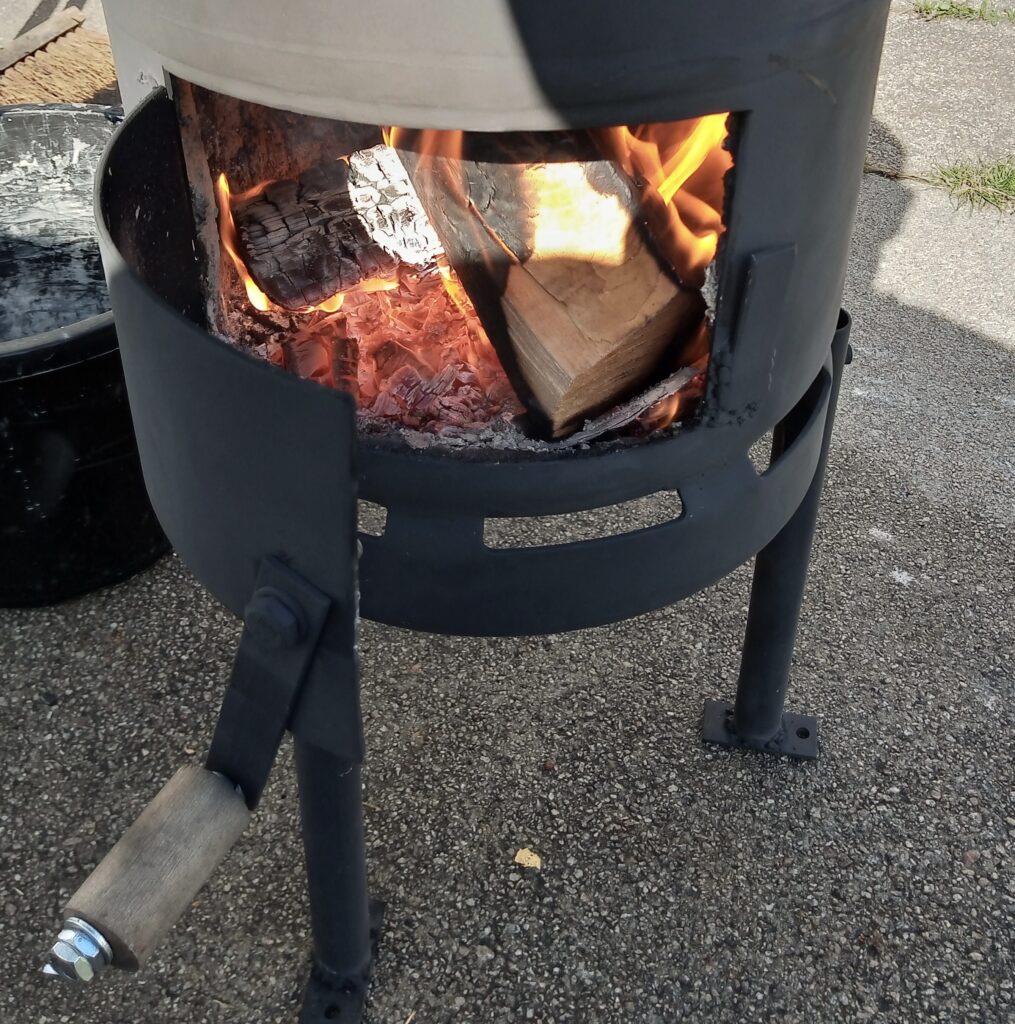
In this blog post, I will describe what changes I made to my DIY wood powered water heater and show how it performed in testing.
In a previous blog post I described the build and test of the water heater. I have since christened it the “wonky water heater” as it’s a bit squinty and done ‘by eye’. Near enough is good enough, as I often say to myself. Anyway, the heater was made from 2 old butane gas cylinders. The bottom cylinder became a firebox and the top cylinder became a 20 litre ‘thermal store’ (i.e. hot water tank) into which was placed a copper coil. Cold water going into the coil absorbs heat from the thermal store and – hey presto – hot water comes out of the coil. The aim was to give enough water for a few hot showers in my tiny house by simply burning scraps of wood or scavenged sticks.
Firebox
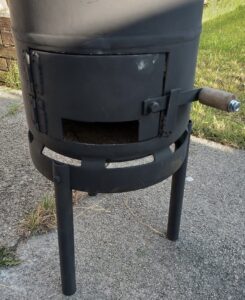
The first thing I did was to fit a door. The aim of this was to reduce heat loss and – hopefully – transfer more to the water.
The door itself was made from the previously cut out rectangle and the hinges were very inexpensive mild steel items. I fabricated a latch to hold it shut, the handle of which was cut from a wooden broom. At the bottom of the door I cut a slot which I hoped would allow enough air in for good combustion. This actually worked very well. With the door closed the air rushes in and up through the burning wood. You can really hear it roar!
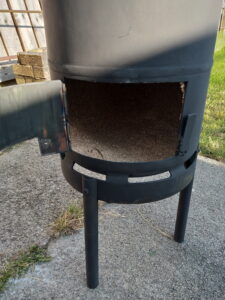
The second thing I did was to coat the inside of the firebox with a layer of fire cement mixed with perlite. I used just under 3 x 2kg tubs of cement (from Screwfix) and most of a small bag of perlite (from a garden centre). The ratio was about 1 part cement to 2.5 parts perlite, with a splash of water added. The resulting mix was sticky enough to adhere to the walls of the firebox. I used a plasterer’s mini finishing trowel to apply it.
I hoped that this layer of insulation would reduce heat loss and wear on the steel body itself (in the same way firebricks do in a wood burning stove).
In practice, the outside of the firebox still gets very hot so I don’t know how much energy is saved. The cement/perlite layer became very tough when fired, so I’m sure it at least offers good protection for the steel.
I also welded on some rectangular feet to the bottom of the legs (see image at the top of the page). These make the heater more stable and allow it to be bolted down, if required.
Thermal Store
The thermal store got some attention too. The first improvement was the addition of a hinged lid with a slot cut out for the flue and copper pipe. I later added a wooden handle to make it easier to open and close the lid when hot.
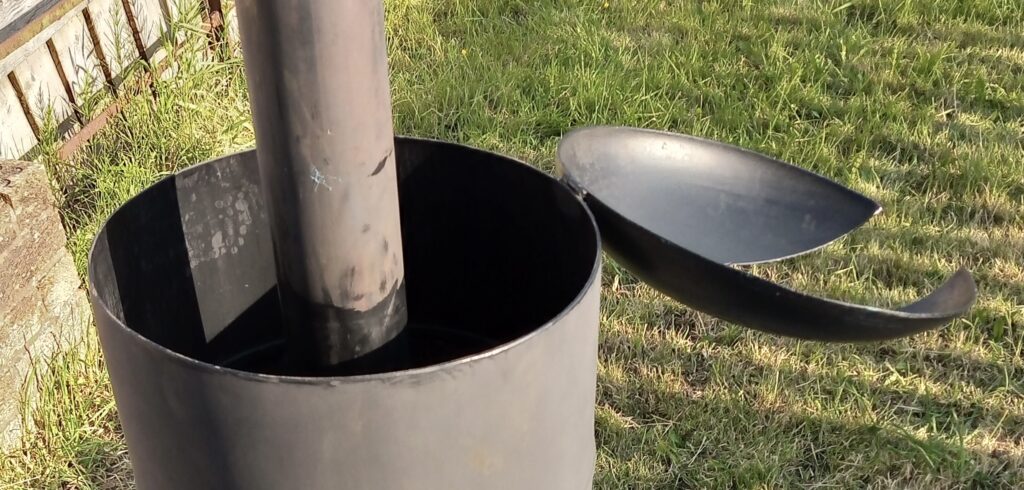
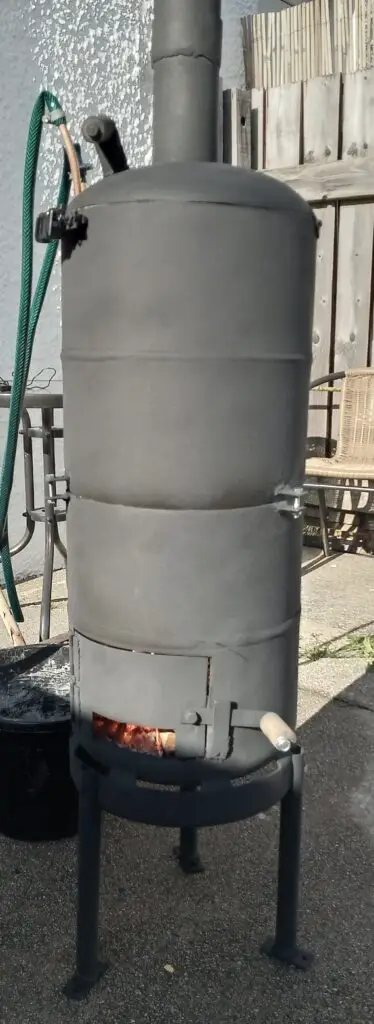
The second job was to make the flue demountable. To do this I cut a small section (about 40mm) off the top. I then cut a slot in the small piece so it could be expanded slightly to fit over the stub of the flue. Next it was welded onto the stub to form a collar into which the top part fitted.
The third task was to install the thermometer. The bracket was simple enough – just a small piece of steel flat bar attached to the top of the thermal store with two bolts. The bolts space the thermometer away from the worst of the heat (it’s made from plastic). Cable ties were used to attach the thermometer to the flat bar. A hole drilled in the thermal store allowed the temperature sensor and wire to pass through. The sensor itself dangles in the water about 1/2 way down.
Lastly, the heater was given 2 coats of high temperature black paint from a spray can. This didn’t cover the blue paint of the lid very well (which I had already given a coat of engine enamel) but worked fine on the bare metal.
Performance test
I wanted to find out if the modifications would get the heater up to temperature more quickly and give greater hot water output.
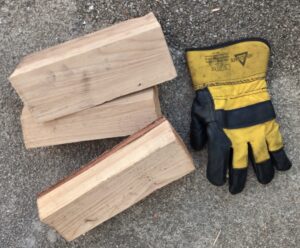
I also tried some ‘proper’ hardwood logs (Birch) rather than pallet wood.
The photo gives an idea of the firewood size. In practice I could only fit one of these at a time (at least until the previous wood had burned down).
Over the course of the test I used 2 full ‘blocks’ and some kindling.
The other change to the test setup was to draw off hot water in 5 litre amounts. I did this by filling up my Hozelock porta shower. In this way I hoped to learn how many showers the heater could produce for a certain quantity of firewood. A ‘shower’ was defined as 5 litres of water at 40 deg C or above.
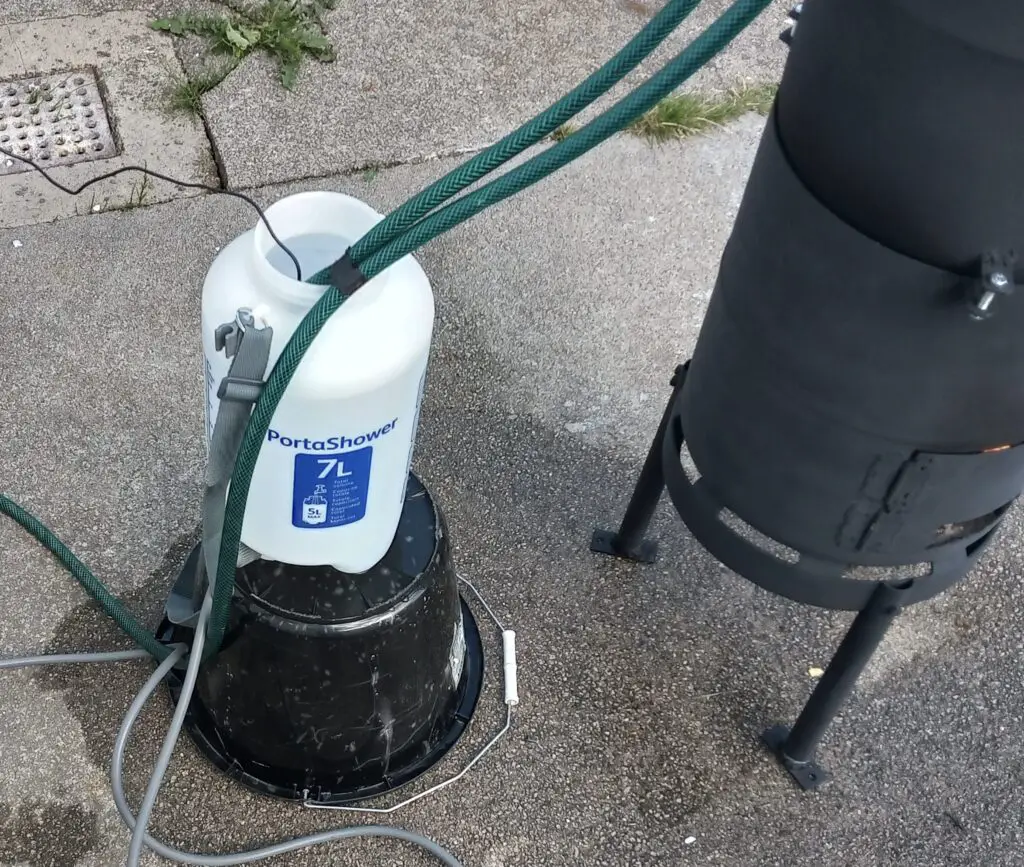
The video below shows the water heater being put through it’s paces.
Test Results
The firebox was loaded with some kindling and 1 block of Birchwood and it lit very easily. The temperature rise in the thermal store is shown below.
| Burn time | Water temp | Notes |
| 0 minutes | 18 deg C | |
| 10 minutes | 45 deg C | |
| 20 minutes | 69 deg C | 2nd log added after 25 minutes |
| 30 minutes | 90 deg C | |
| 33 minutes | 95 deg C |
The temperature of the water in each 5 litre fill of the Portashower is shown below.
| Shower Number | Shower Water Temperature | Thermal Store Temperature |
| 1 | 74 deg C | 95 deg C |
| 2 | 61 deg C | Not measured |
| 3 | 55 deg C | Not measured |
| 4 | 48 deg C | Not measured |
| 5 | 44 deg C | 61 deg C |
| 6 | 41 deg C | 56 deg C |
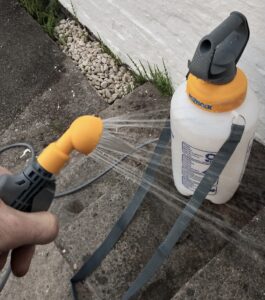
Around 10 mins after shower 6, the temperature in the thermal store had risen again to 65 deg C. By this time the firewood was glowing but there were no flames. It was enough to produce a 7th shower at 42 deg C.
During the course of the test, the outside of the firebox got very hot, so this is still an obvious source of heat loss. In future, I may try to cast an external layer of perlite/fire cement insulation around both the firebox and the thermal store.
I also pressurised the Hozelock Portashower and measured the shower time. With a full 5 litres, the shower lasted 3 minutes and 30 seconds (including occasional stops to pump It up a little).
Conclusion
The water heater got up to temperature more quickly and produced more hot water than during the previous test.
Clearly the temperature of first few showers was far too high. In practice, cold water would have be added to get a normal shower temperature of 40 – 45 deg C.
It’s reasonable to say that the heater would give 8-10 showers at 40-45 deg C from just over 2 blocks of wood.
In practice, one filling of the firebox should be enough to see the thermal store get to 70-80 deg C and provide 3 showers. This is fine for the tiny house, which will probably only be occupied by 1 or 2 people at a time.
Obviously in the winter the initial water temperature will be lower and more firewood would be necessary to get the same hot water output.
In spring and autumn I hope to use a solar heater to pre-heat the water. In which case the heater may use less firewood for the same result.
In summer it’s likely that the solar heater will provide almost all the hot water and the wood powered water heater will be hardly required.
The total cost of the project was around £150. This went on steel tube, steel flat bar, paint, welding wire, screws, nuts and washers, fire cement and perlite, hinges, a copper coil, 2 thermometers, grinder discs and a drill bit.
It should be possible to run the water heater on scavenged ‘windfall’ sticks and branches and waste wood from the tiny house build. So it does live up the promise of “free hot showers” (after the initial build cost). However, it’s likely that I will be buying some hardwood for the tiny house wood stove anyway and some of this will find it’s way into the water heater in winter.


Well done 🤩🤩🤩
Thanks Marian!
Love it
Olá! Saudações do Brasil!
Eu construí um aquecedor solar para meu chuveiro. Eliminei o chuveiro elétrico da casa de banho. Agora eu quero construir um sistema para apoiar o meu aquecedor em dias chuvosos ou dias muito frios no inverno. Moro no Norte de Minas Gerais. Aqui quando faz muito frio a temperatura mínima no inverno é de cerca de 9°C. Não se compara ao frio do sul do Brasil, que chega abaixo de 0°C, mas 9°C ambiente é uma temperatura fria para banho. O apoio do meu aquecedor será à lenha. E te agradeço por você ter compartilhado o seu projeto no Pinterest. Você pode conhecer o meu projeto de aquecimento solar no Instagram e no YouTube. Os links são os seguintes: www.instagram.com/aquecedorsolarcaseiro/
www.youtube.com/channel/UCq0y6R0a9Om_g64DLpjtoPQ