Conception
From the start, I wanted the tiny house to be off-grid with regard to the electrics. Given the tiny house’s sunny location, solar electricity was the obvious choice.
My requirements were minimal: some lights and a few sockets. The biggest power consumer would be a small fridge. Apart from that I just needed enough juice for a laptop or phone.
I bought the solar panel from a specialist in France. I think it was about 200 Watts (W) output and came with cables, roof mount, sealing mastic and a charge controller (£300). To complete the system I bought a 12v leisure battery from car parts retailer in the UK (£120) and an inverter from Amazon (£110).
I chose to go with 240v ac for the sake of simplicity as I could use standard cables, sockets and switches. It also meant that all my devices could be used without needing adaptors.
As I didn’t need to be hooked up to any electrical network, I assumed I was free to install the system how I liked. Consequently, I designed the layout with the bare minimum of sockets and lights. Safety wasn’t compromised though as I would ensure that a proper earth and consumer unit with circuit breakers was fitted.
Installation
Wiring and earth
Installing the wiring, sockets, light switches, consumer unit and earth had to be done when the house was just a bare wooden frame. (All of these components would be surrounded by the hempcrete insulation at the next stage).
The photo below show the electrical ‘first-fix’ in progress.
The socket and light switch boxes had to be screwed in place at a depth that took account of the finished level of the hempcrete. I.e. I didn’t want them to be sunk back or protruding from the interior surface of the wall. Using a flat bit on a mains powered drill (running from a generator), I drilled holes in the wooden frame to take the electrical conduit. The various cables were then pulled through as required.
I was glad I pulled the cables through at this stage as some of them were quite tight and I had to remove the conduit from the frame, and straighten it before getting the cable through. This would have been impossible had the hempcrete already been cast.
If I had to do it again I would either use a larger diameter conduit or pay extra for conduit that has the cables pre-installed.
A long earth spike was driven into the stony ground (quite a job!) and a heavy earth cable fed up to the consumer unit.
After the walls were ‘plastered’ with a finish coat of more hempcrete, I fitted the light switches and sockets into the plastic boxes. A couple of ceiling lights were strung from the roof ties and all the cable connections were made inside the consumer unit. Incidentally, the consumer unit was a small type which I think was made for garages. Perfect for my needs.
Solar Panel
My friend Rob, who helped with the house frame and roof, also gave me a hand to install the panel.
Unfortunately, the panel fixing kit was designed for use with camper vans or similar flat surfaces, not tiled roofs. Undaunted, I bought some aluminium flat bar, square tube, nuts and bolts from a hardware shop and fabricated some brackets. These screwed into the wooden battens under the roof tiles and were bolted to the solar panel frame. I doubt if I could have figured it out myself, but Rob saved the day (again!)
A hole was drilled through the hempcrete roof insulation and the wooden ceiling boards and the cables fed inside the cabin.
The end result was quite neat, as you can see from the picture below.
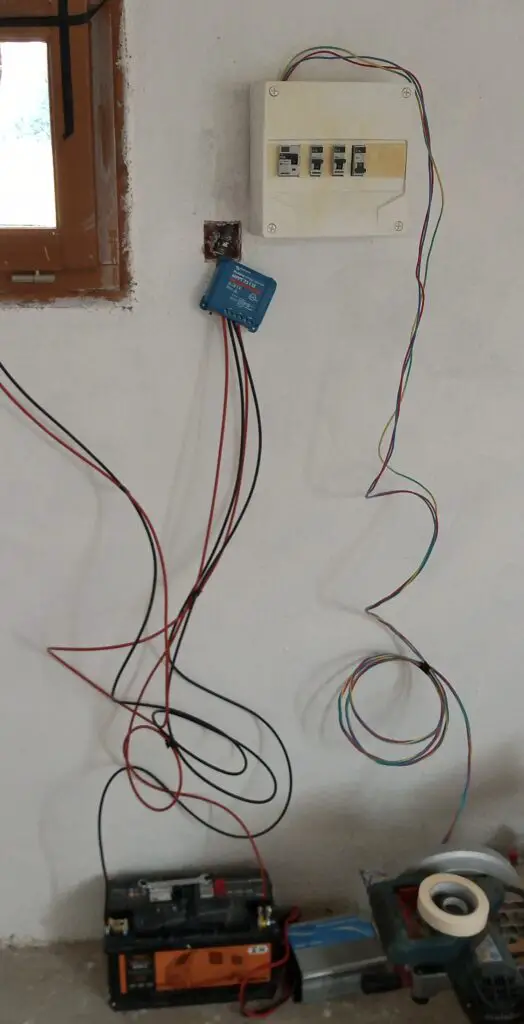
Charge controller and inverter
The wiring of the charge controller and inverter is very simple but still needs to be tidied up (to be done on next visit). The controller and inverter themselves were screwed onto a piece of MDF that was mounted to the wall. I managed to find a pair of battery terminal clamps from the local agricultural co-op that enabled me to connect the battery to both the controller and inverter.
Performance
Prior to installing the panel on the roof, I had done some testing with it propped up against the wall of the house and the cables temporarily connected (see below).
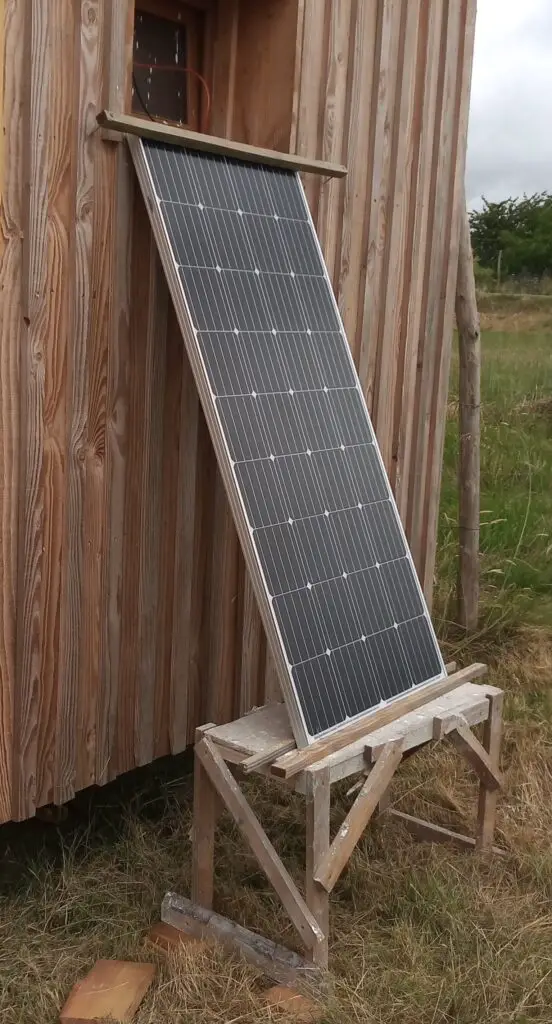
This was during a fairly cloudy period and the system didn’t work very well. The battery seemed to get drained quickly, despite me only running the very low power LED lights and charging my laptop. I was beginning to wonder if any of the components were faulty. Thankfully, some very sunny weather gave the battery a good top up and it was OK after that.
The panel faces east and doesn’t get as much sun as it would facing south. It still works though and it’s satisfying to see the controller start to give a charge when the sun comes up in the morning!
I was disappointed that my Giandel 600W inverter stopped working after about a week (it kept tripping out). Just goes to show that, despite the great user reviews, buying a lesser brand from Amazon doesn’t always work out.
To replace the faulty inverter, I bought a Victron unit from the same company that supplied the solar panel. The model was a Phoenix 12/375 pure sine wave inverter (shown below).
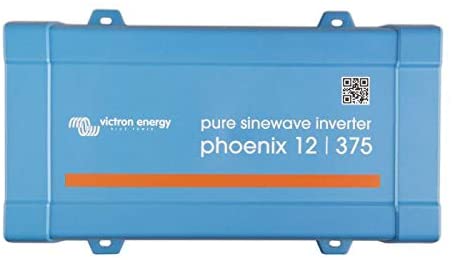
In terms of specifications, the Victron was only rated at 300W continuous power (700W peak) compared to the Giandel’s supposed 600W (1200W peak). I don’t remember what the Victron cost from the French dealer but the current price on Amazon is £118.50. This is only £10 more than the Giandel (£108.96). Obviously, the Phoenix has – on paper – only half the power. Whether the Giandel’s claimed power is exaggerated, I don’t know. I do know that the Victron unit is heavier, despite having a plastic case, so that would suggest that the internals are more heavy duty. I took a gamble on the Victron’s power being enough for my needs.
Victron also make the charge controller – the Blue Solar MPPT 75/15.
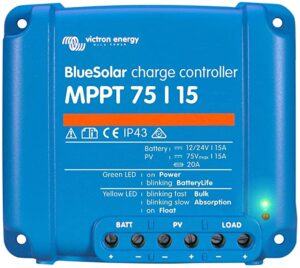
The current price of this is £87.99. Again it seems very robust and confidence inspiring.
Like everything else these days, it is made in China, although Victron itself is a Dutch company and has been making power equipment since 1975.
By the way, MPPT means Multi Power Point Tracking. The other type of charge controller available uses PWM (Pulse Width Modulation). Of the two, PWM Controllers are cheaper but MPPT controllers have been proven to give 20-30% more power in partially shaded or overcast conditions. I was happy to pay extra for the MPPT controller in order to squeeze as much as I could from my small solar panel.
So, after the inverter upgrade, I had a reliable 240V output and all my sockets and lights worked without a hitch. Hooray!
Fridge Problems
Cool box blues
I was very keen to have a fridge in the tiny house. Without one, I had been buying bags of ice from the supermarkets and putting them in a cool box. This was a pain because:
- food ends up swimming around in melted ice water
- It cost 3 or 4 euros every day for a bag of ice
- I had to go to the shops every day for more ice.
With a very low powered electrical system, the challenge would be to find a fridge to suit.
Which fridge to buy?
My first thought was a 12V cool box type that plugs into a cigarette lighter socket. Upon investigation I found that, not only is the performance poor, but the current draw is quite high at about 50W.
Moving on, I found that the excellent Bimble Solar sell a range of fridges and parts for off grid living. Their fridges are high efficiency with low power consumption (as low as 10W) but are also quite expensive. The smallest model costs just over £400 and the largest costs more than £1300.
Interestingly, there is another way. Bimble Solar also sell aftermarket thermostat switches to convert a normal chest freezer into a simple refrigerator. This switches cost less than £20 and could be used with a secondhand chest freezer as a real budget option.
Sitting in France, without cold beer, in the middle of a heatwave … I didn’t want to have to order a £400 fridge from England and wait for delivery.
The converted chest freezer was appealing but I felt it would be too large for the tiny house.
I thought there might be another option in the shape of a very compact normal 240V fridge. These are not all that common but I managed to find one locally. The model was a Candy CFL 050 E. It was fairly cheap (something like €150). The size is 44 litres and the indicated annual power consumption is 107 kwh.
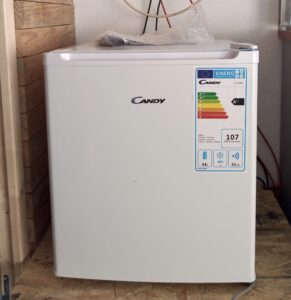
I used an online calculator to work out that this annual consumption equates to an average of 12.2 watts. That is surprisingly low because, according to various google search results, mini fridges normally use 50-100W. Either my calculations are wrong, Candy are lying, or my fridge is indeed wonderfully energy efficient.
OK, imagine Candy are lying and the fridge does consume 50W. Will it last through the night without killing the battery? At 50W, the fridge is pulling a current of 4.16A. Over a night time period of 12 hours, that works out at around 50 amp hours (Ah). As the battery’s capacity is (from memory) 110Ah, then it’s fine, I’ll have taken less than 50% of the battery’s reserves. Hopefully a sunny day would then top the battery back up.
Of course, in the winter I won’t have 12 hours of sun. Then again, in the winter, the tiny house won’t be quite as hot, the fridge won’t have to work as hard, and I’ll be less in need of cold beer.
With a bit of luck, Candy are telling the truth, my calculations are correct and the fridge does only consume 12.2W. In which case my solar panel and battery are easily big enough to power it.
To conclude – on paper the mini fridge should be OK. Not as good as a proper solar fridge but there is a chance it will do the trick, at least during the summer when I need it most. But there is one more problem to solve before I can look forward to plentiful cool drinks…
Inrush current and inverter tripping
I knew that the high startup (inrush) current of a fridge can be a problem in a solar system as it often trips the inverter. So it proved, even with my mini fridge. It was possible to reset the inverter a couple of times and get the fridge to work for a while. But when the compressor kicked in, the inverter would trip again.
I searched for a long time online before finding a YouTube video that gave some hope of a solution. In this video the guy explained how to make a simple ‘soft start’ that would limit the high inrush current and avoid tripping the inverter. So that’s what I am going to make and I hope it will allow me to use the fridge this summer.