There are loads of ways I could have built the foundations of the tiny house. However, for a long time I have been drawn to the idea of building a house raised up on piers.
I think I got the idea from the Walter Segal building method which uses simple concrete pads (600mm square) and timber posts (piers) as foundations for timber framed houses.
The advantages of this method are as follows:
- Uses less concrete than strip or raft foundations (so is cheaper and has lower environmental impact).
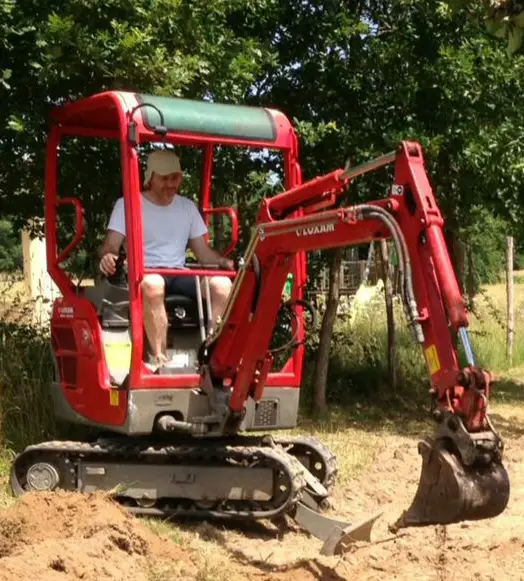
- No need for earth-moving machines and extensive groundwork to level the site (again saves money).
- Easy for the self builder (just some holes to dig for the pads).
- Raises the house above the ground (so good ventilation of floor and no dampness).
- Space under floor can be used to route plumbing and electrical cables.
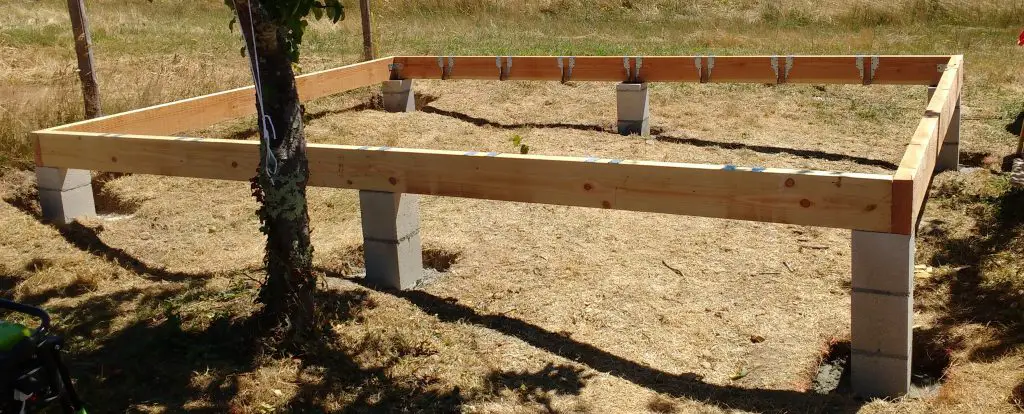
I chose to use six piers, one at each corner and one in the middle of each of the longer sides.
Calculations
You’re probably ‘supposed’ to get a structural engineer or architect (or some other expert) to design foundations based on soil type.
Well, I didn’t do that but I did satisfy myself that my own design wasn’t complete madness.
I actually did have some information on the soil type from a study that was done for drainage purposes. The test hole nearest to the tiny house showed that, at a depth of 0.4m, the soil was “grave limoneuse”. As far as I understand, this literally means “gravel and silt”. Silty soils apparently have less than 10% clay. My land was certainly free draining (as I would observe during some thunderstorms) which I guess wouldn’t be the case if it did contain a lot of clay.
I found some information online which indicated the load bearing capacity of different soils. The french term for this is “taux de travail”, represented by the letter q.
The worst clay soil has a q value of 0.3 bars and the best limestone soil has a q value of 45 bars.
In between these extremes were, for example, silt (1-3 bars), sand/gravel (6-9 bars) .
So, I made the conservative assumption that my silt and gravel soil wasn’t great and had a q value of only 1 bar.
Diameter of Piers
Searching the internet, I found some guidance on calculating foundation dimensions. I can’t remember the source, or be sure it’s 100% correct, but here is how I did it anyway.
I used a reference figure of 250kg per m2 of floor are as the load placed on the foundations of a timber framed house (this may or may not be correct!).
My floor area was 17.28m2, so the total load was 4,320kg.
As there were six piers, I assumed that each carries 1/6 of the 4,320kg load i.e. 720kg.
I had read that concrete of 15cm diameter can, in theory, support 22,000kg. So if I used a similar diameter for my foundation piers, they should cope with the 720kg load easily enough.
It is possible that the load on the piers is more than 720kg due to the extra weight of the hempcrete insulation. But even if it was twice as much (1440kg), it should still be OK.
Size of concrete pads
For the concrete pads, I did the following calculation. As previously discussed, I took the q value to be 1 bar and the load on each pad to be 1440kg.
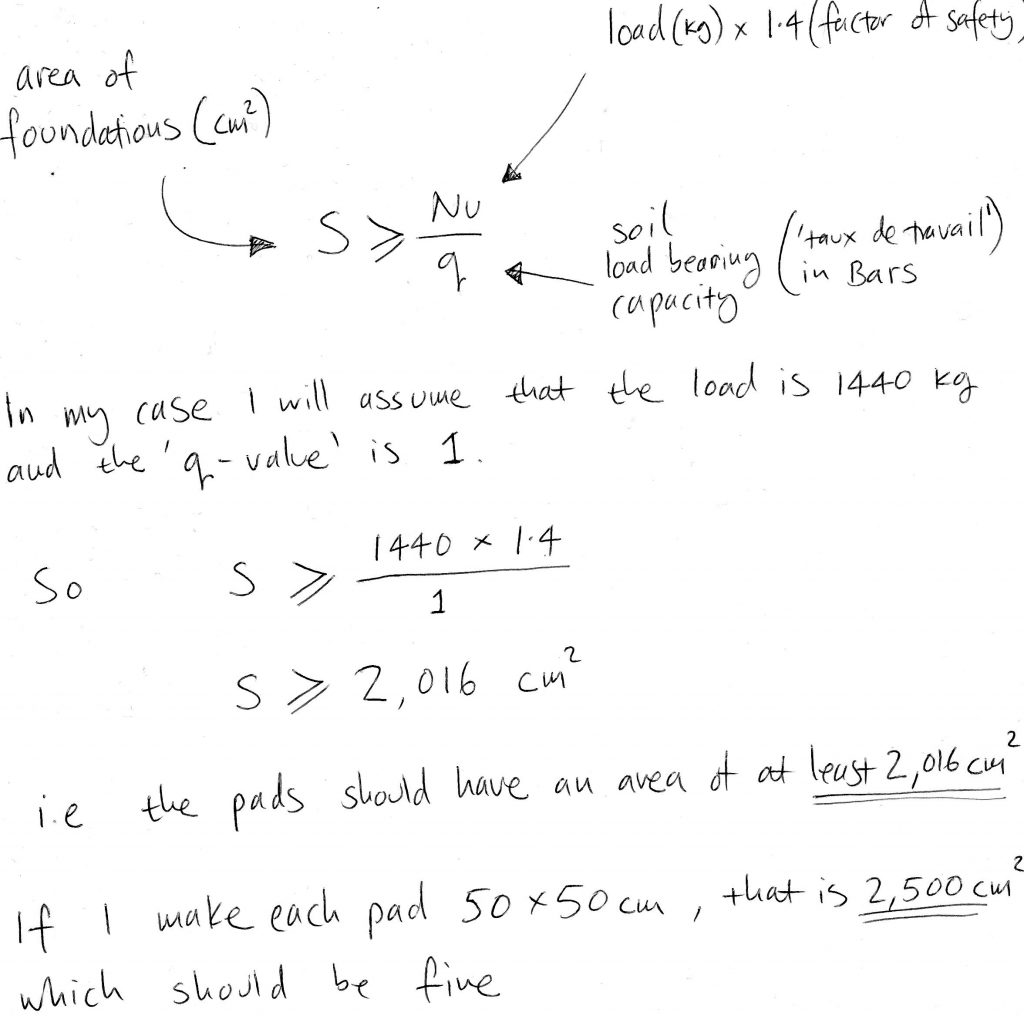
So I ended up with a pad size of 50cm x 50cm which is reassuringly close to the 60cm x 60cm square pads used by Walter Segal for his buildings.
Building the pads and piers
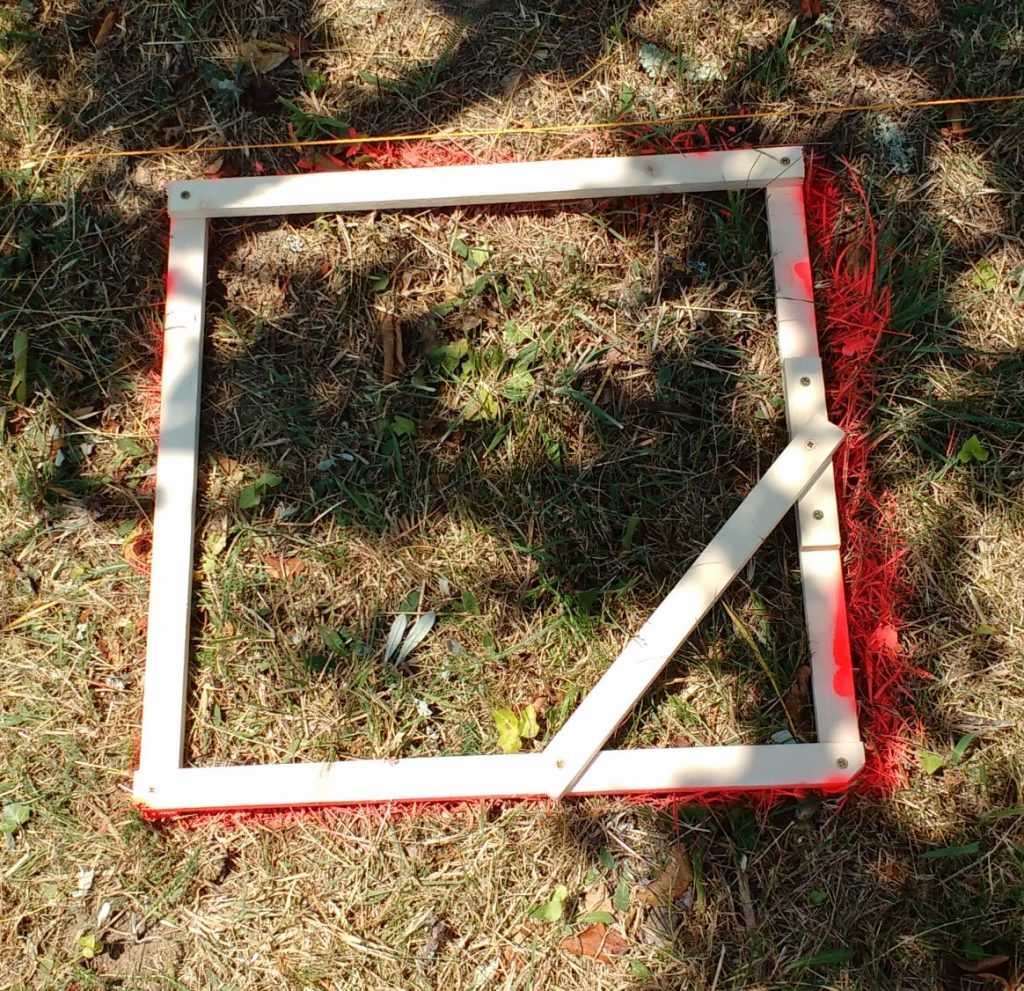
Firstly, I used a square wooden frame to mark the ground with bright pink marker spray.
I then dug the holes by hand to a depth of about 50cm (to get below the frost line). This was surprisingly difficult because it had been hot for some weeks and the ground was bone dry and hard. So I had to use a pick to loosen the earth and then scrape out the ‘dust’ with the spade and shovel. A few tree roots in some of holes didn’t help. Nevertheless, after a day of digging they were complete.
The pads were cast in concrete at least 20cm thick and reinforced with 10mm steel rebar.
The next question was how to make the piers?
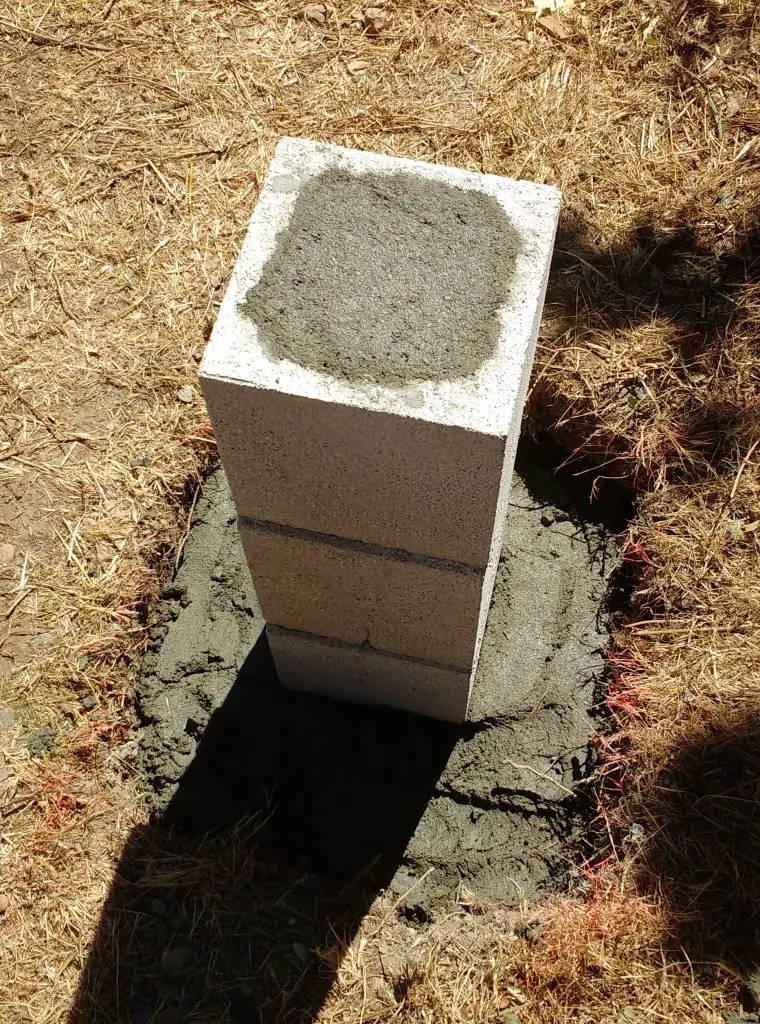
I thought about using bricks or shuttered concrete using cardboard tubes or plywood formwork. In the end I used hollow concrete blocks that were, effectively, permanent shuttering. The blocks are designed for the pillars of garden gates. Various sizes are available and I went for 20cm x 20cm (exterior dimensions). They were built up to a slightly higher level than required and the finished level marked using a laser. The tops were cut off using an angle grinder. They were then filled with concrete and some more 10mm steel rebar.
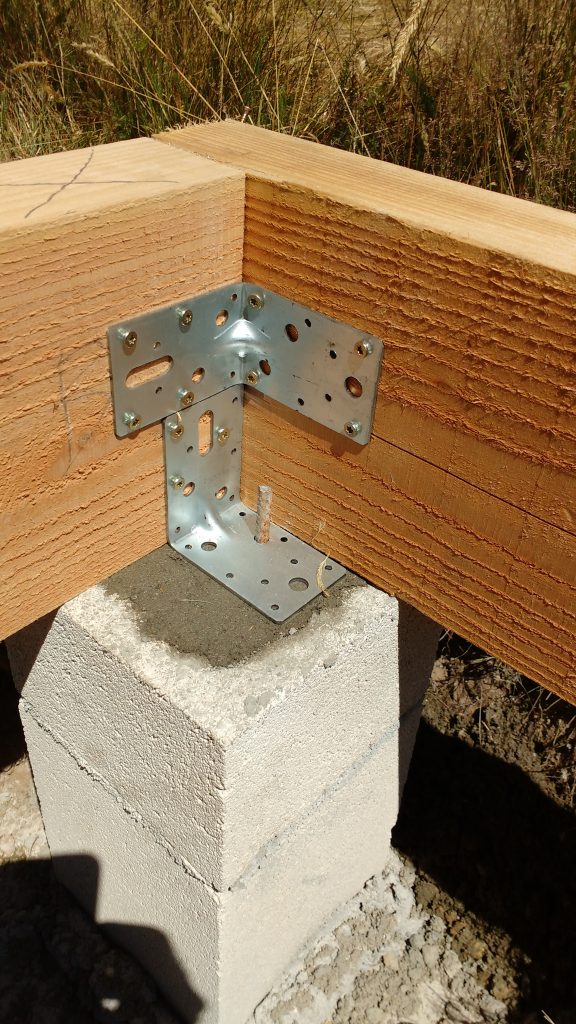
While the concrete was still wet, the floor beams were laid on top of the piers and joined at the corners using heavy duty angle brackets. Another angle bracket was used to allow ‘spikes’ of 10mm rebar to connect the beam with the wet concrete in the piers. In effect the floor beam would be pegged to the piers and couldn’t move around laterally. There seemed to be no point in bolting the floor beam down. The weight of the building would surely be enough to keep it in place, Wizard of Oz style tornadoes notwithstanding!
I didn’t use any damp proof material between the timber and the piers as the finished cladding would overhang the concrete and shield the tops from the weather.
The total cost for the foundations was probably just over €100 euros. The blocks cost €56, the cement about €25, the rebar about €24 plus a fairly small amount of sand and gravel.
Pictured below are all six piers with the floor beam installed on top ready for the floor joists.